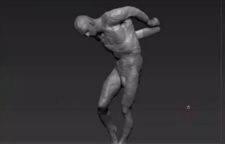
The goal of the tutorial we’re going to visit is to add hair to an existing head. Looking for a basic form suitable for hair, the Sphereinder3D tool is used to create locks of ‘free’ hair. Pxicologic ZBrush is indeed a very powerful tool for ‘sculpting’ true 3D artwork.
Related Posts
01
Dec2018
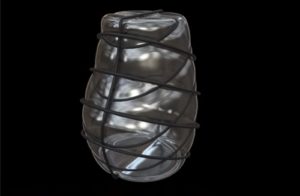
Modeling a Glass Bubble Vase in 3ds Max and ZBrush
In this interesting video tutorial we will see how to make an artistic glass bubble vase using the Autodesk 3ds Max modeling and rendering program associated with another 3D program,…
27
Dec2012
Modeling Hair Dryer in 3ds Max Tutorial
In this tutorial we will learn how to model a hair dryer in 3ds max. We will use various modeling techniques such as lathe rotation of a line to obtain…
07
Mar2017

Draw a Deer Logo Design in Adobe Photoshop
In this nice video tutorial we will see how to draw an eye-catching logo with a deer head using the Adobe Photoshop graphics program. An exercise that shows how to…
07
Dec2015
Using ArrayMesh in ZBrush to Help for 3D Printing
This video tutorial shows how to use ArrayMesh in ZBrush 4R7. It can help us prepare a 3D model for printing. It is a method of ‘sectioning’ an object. Divide…
09
Feb2013
ZBrush Mouth Sculpt – Video Tutorial
In this video tutorial we will see how to sculpt a realistic mouth using the Pxicologic ZBrush modeling program. The lesson explains how to start tracing the lips and then…
03
Apr2013
Modeling a Gorilla Character in ZBrush
A nice video tutorial from the net that illustrates how to sculpt a gorilla head in Pxicologic ZBrush. It is a lesson without sound that demonstrates the power of this…